Showing posts with label Parve. Show all posts

Monday, April 4, 2011

It's not too long until you'll get your Shortbread. Even if you can't have Gluten.

So, it's no secret that I love shortbread. I used to think that the only way to get good shortbread was to drop down some serious cheddar on Walker's Shortbread Fingers. Then when I got back into cooking, one of the first things I tried was making shortbread. Surprisingly enough, it's pretty darn easy. It's basically flour, sugar and butter. It's called bread, by the way, since the British taxed cookies and cakes when they occupied Scotland and this was a way around that. Anyway, I've been making shortbread pretty regularly since, most of the time Millionaire's Shortbread. What I haven't been able to do is make a good Gluten Free shortbread. The version I have in my previous blog post was OK, it was kind of heavy though. I finally found a version that is light and crispy. Unfortunately I haven't been able to try it out with butter, since our son who can't have gluten can't have milk either, so if you try this it will probably be much better with butter.

You'll need:
1/2 Cup cornstarch
1/2 cup icing sugar
1 cup rice flour
1 teaspoon vanilla
3/4 cup butter or margarine (175g)

Preheat your oven to 300F (150C).
Add all the dry ingredients and mix well.

Make sure your shortening is cold and cut it into cubes and add it to the dry mix.


Then get mixing.Start with a fork but you'll need to get to kneading it with your hands.


I had a bit of help.
It should form a slightly sticky ball. Put it onto a sheet of plastic wrap and roll it into a log. Refrigerate for about 20 minutes. This is actually when you should turn on the oven.
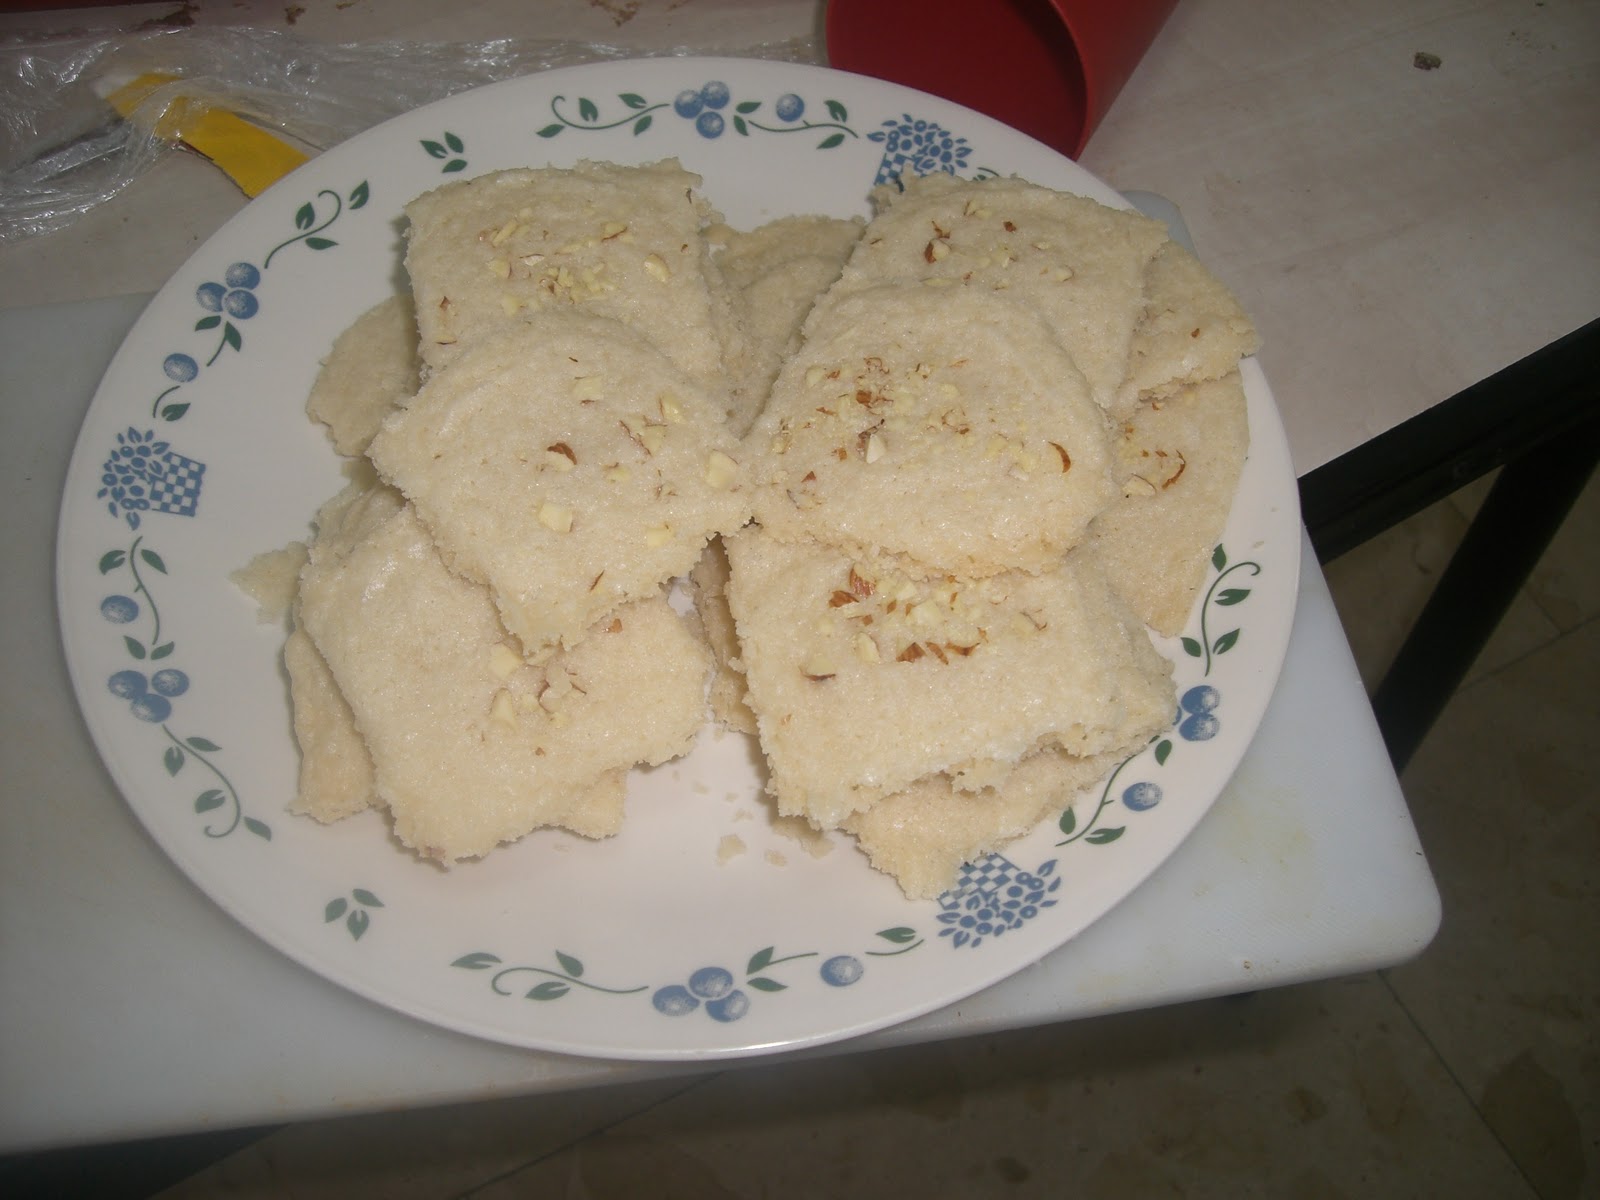
When it's set and the shortening has hardened cut it into rounds and place them on some parchment on a cookie sheet.


Now you can get fancy. I put chopped almonds on some and vanilla sugar on the rest.
20 minutes in the oven...
They kind of melted into each other. I'll work on that, but they're super crisp and very tasty. So, get baking!

Sunday, March 6, 2011

Let them Eat Gluten Free Cake!

Taking a short break from the serious Joo Food, I took another stab at the Gluten Free goodness. My wife and daughters took a class in cake decoration last week so I figured we'd make a treat for Shabbos. This is a classic yellow cake, but totally gluten free. It came out spectacularly. I also added a little twist along the way. Something I've been meaning to try for a while is a substitute for whipped cream. I need to make a lot of recipes without dairy ingredients so we can eat them with meat meals, that's just kosher. Most of the time we use non-dairy whipping cream, but it's a bit fake tasting at times. So a while back I found a recipe for making natural vegan whipped cream using coconut milk and wow did it come out well. My eldest daughter then made butter cream icing and fondant to decorate the cake. This will go down as a classic success around here. I'm not going to go into the icing and decorations this time, just improvise.

Stuff you'll need:
 The Cake
1 cup tapioca flour
3/4 cup white rice flour
3/4 cup potato flour (or rice flour, I was just out of it)
1 teaspoon salt
3 tsp baking powder
1 tsp baking soda
1 1/2 tsp Guar Gum (or 1 tsp Xanthan Gum)
4 eggs
1 1/2 cups sugar
2/3 cup mayonaisse
1 cup soy milk (regular milk or almond milk also work)
2 tsp vanilla extract

Set the oven to 350F (175C) and get out your mixing bowls.
Sift together the flours.
Then the baking powder, soda and salt.


And finally the Guar Gum.
Mix it all together and then on to the wet stuff. It's the eggs first.
Followed by the mayo. Which I thought was wacky, but it makes the whole thing pretty creamy. I'm assuming it replaces the butter/margarine.


And that goes together with the sugar.


Apply the hand mixer to the three of 'em until it's all nice and fluffy.
Incorporate into the dry mixture and add the milk.
Then drop in the vanilla.


Mix it until smooooooth.

Now, to prep the cake tin. Smear it with a thin layer of shortening, margarine or butter, or even oil will work and then add a handful of rice flour to coat, so the cake doesn't stick.


Into the oven. Now, here's the tricky bit. It took about an hour to bake all the way through here. But check it with a toothpick after about 30 minutes and again at 45.

When the toothpick comes away clean and the cake is springy to the touch you can remove it from the oven to cool.

Meanwhile...
On to the cream filling. As I said, I've been wanting to try this for a while.
You'll need:
1 Can of Coconut liquid, left on a shelf for at least a week so it separates.
1/4 cup of sugar

When you're ready for this move the can around slowly and gently as you don't want the liquid and the butter to mix. Slowly turn the can over and open it up, drain out the clear liquid, but save it, since you'll need a couple tablespoons.
What's left is a thick white semi solid goop, for lack of a better term.

Start beating this with your mixer and add in a couple spoons of the clear liquid just to help give it some body. Beat until stiff, slowly adding in the sugar as you go. It should form soft peaks when it's ready, having the consistency of, well, whipped cream. 

Let's get these bad boys together. For that you'll need to cut the cake in half. If you have kids and you're able to co-opt some blocks they're excellent, otherwise you'll need to find something to rest your knife on to make sure the cut is straight. A long serrated knife is best for this kind of work as well, turning the cake around slowly, cut it through the middle.
Then apply the cream to the bottom half.
Then put the top back on. Apply icing as desired.


Thanks to my eldest daughter, who made the icing and decorated the cake.


And thanks to the family for eating it.
That's all that remained after lunch. And everyone in the family was able to partake!

Thursday, March 3, 2011

Lokshen. The Other Kugel

So, earlier in the week we discussed Potato kugel. That one's pretty savory, which means that it doesn't hang out in seedy dive bars or something like that. This one is a bit sweeter. First of all, I should let you in on the secret. Lokshen, or Lukshen is Yiddish for Noodles. So yes, this is a big chunk of noodle pudding. It's also good for people who can't have potatoes for whatever reason. On the other hand, people with gluten issues might want to skip this one.

What you'll need:
1 lb. noodles - Egg noodles are best, about half and half broad and thin.
2 apples, peeled and cored
1/2 cup raisins
1 tsp cinnamon
1/4 tsp nutmeg
1/4 cup sugar
1/4 cup oil
5 eggs

Preheat your oven to 375F(190C)


So, you've got your noodles. Get them into a pot of salted, boiling water. Ignore their screams and pleas for mercy, they're just noodles.
While they're bubbling away, prep your apples. Peel, core and chop into small chunks.


When the noodles are al dente take them off the fire and drain them, then transfer to mixing bowl.


Let them cool for a few minute and assemble your other ingredients.

Add the apples and raisins. You might try pineapple or pears as well. I'd think dried cranberries might be an interesting addition as well. And add in your spices. If you don't like cinnamon or nutmeg try ginger instead.


Starting mixing slowly and follow that with the sugar.


And now, it's egg time.
You need to do these one at a time, since the noodles are still hot. Beat an egg.
Slowly incorporate it in with the noodles. Do this one at a time until the mixture is nice and creamy. Depending on the size of your eggs you may need one less or one more. Before you do the last egg, pour the oil into your casserole dish and swirl it around to cover the sides then putting it in the oven to heat up.
After it's had a few minutes to get hot, take the casserole dish out and pour the oil into the noodles and mix it through. Then pour the whole lot back into the dish.
Then it's back into the oven for an hour. It should come out a dark golden brown and full of delicious flavor.


Feed it to your friends and family. They will appreciate your mad kitchen skills.

Tuesday, January 11, 2011

The bell rings, the dog drools. The Pavlova response.

I'm a big fan of cooking shows, especially competitive ones. Back in the day it was Iron Chef out of Japan and Ready, Steady, Cook from the UK. The genre has certainly expanded in the last few years with the advent of Top Chef in the US and MasterChef in the UK. Last year MasterChef opened a franchise in Australia as well. The format is very different than the UK version with major tryouts across the country for amateur chefs, the best of whom went on to compete in the season. For some of us it was a first time exposure to some Australian classics. One of those is Pavlova. What is Pavlova you ask? Well, it's a GIANT meringue, with a crisp outside and marshmallowy middle. It's traditionally served with whipped cream and berries. Well, about 6 months ago I gave it a go and it came out pretty well. The recipe calls for egg whites only, so I figured I'd make a custard to go along with it and settled on Creme Anglaise. Needless to say, big hit. Then one of my twins asked if she could make it the following week. And the week after. And the week after. So, what started out as a one time goof off in the kitchen for a special treat has turned into an almost weekly indulgence. This is a bit of a time consuming endeavor, so unless you have lots of time, or cheap teenage laborers you might want to push it off for a special occasion.

Ingredients: Pavlova
6 Egg whites
1 cup sugar powder
1 tsp vinegar
1/2 tbsp cornstarch

Creme Anglaise
6 egg yolks
2 cups light cream (we use vanilla soy milk, for that parve feeling)
2 tsp vanilla extract
1/3 cup sugar

Preheat your oven to 250F(130C).
You'll have to separate your eggs. This really isn't hard, but may take a bit of practice, do each egg over a bowl and only when you're sure there's no yolk in the white and only then put the white into a mixing bowl.


Get out your handy dandy electric mixer and get to whipping. You'll want to get it to the soft peak stage, where you lift the mixer out and it leaves a bit peak that holds for a few seconds and then melts just a bit.
At this point you want to start adding the sugar a big spoon at a time. Keep beating while you're adding the sugar.


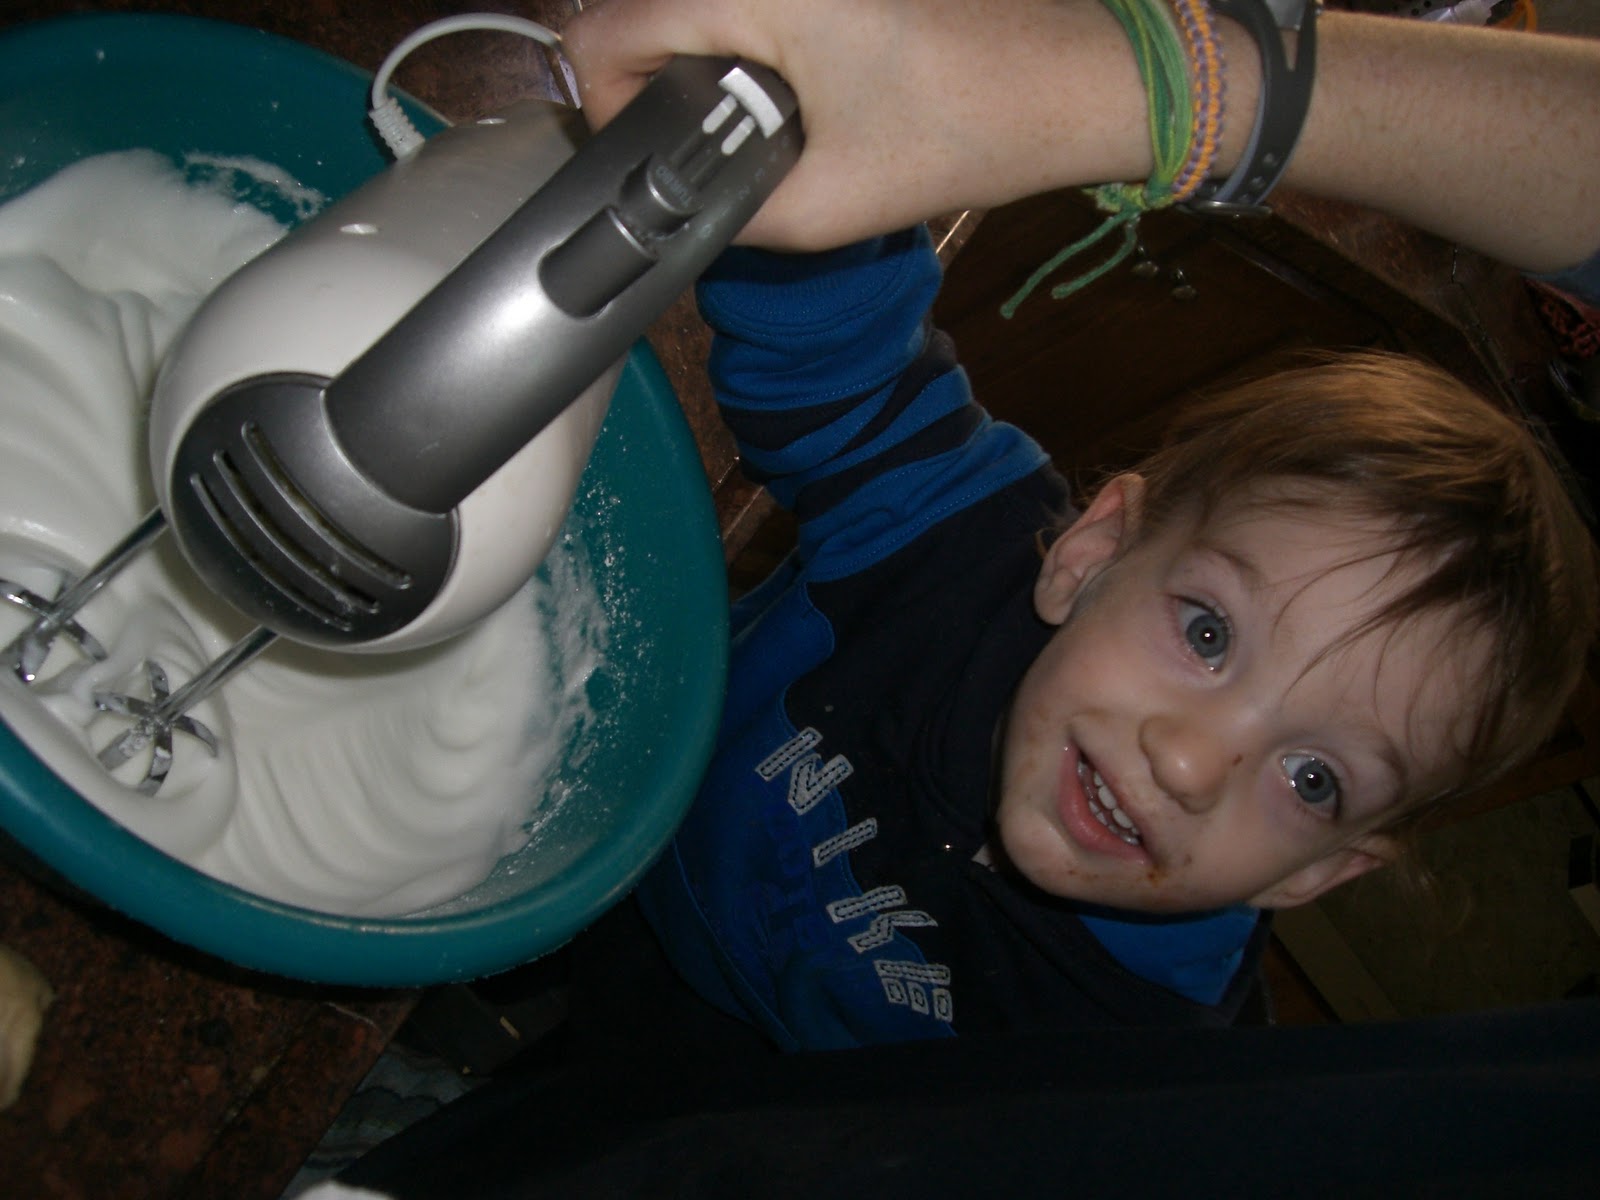
We had some extra help.  Keep beating until you get very stiff peaks, that is to say when you lift the mixer the meringue holds the peak and doesn't move.


Then sprinkle the vinegar and cornstarch on top and fold in with a spatula. Then lay a piece of baking parchment on a baking tray and dump the meringue out onto it.


With a spoon or spatula shape it into a big round flat topped mountain.
Bang that puppy into the oven for about an hour and quarter. It should be crisp and firm on the outside. It'll start to crack as it cools down and you'll start seeing cracks form on the outside, this means it's still soft on the inside.  So, well done you!


While the Pavlova is baking away you can get to the Creme Anglaise.
We kind of cheat along the way, but that's fine, that's the hallmark of the good amateur home chef.
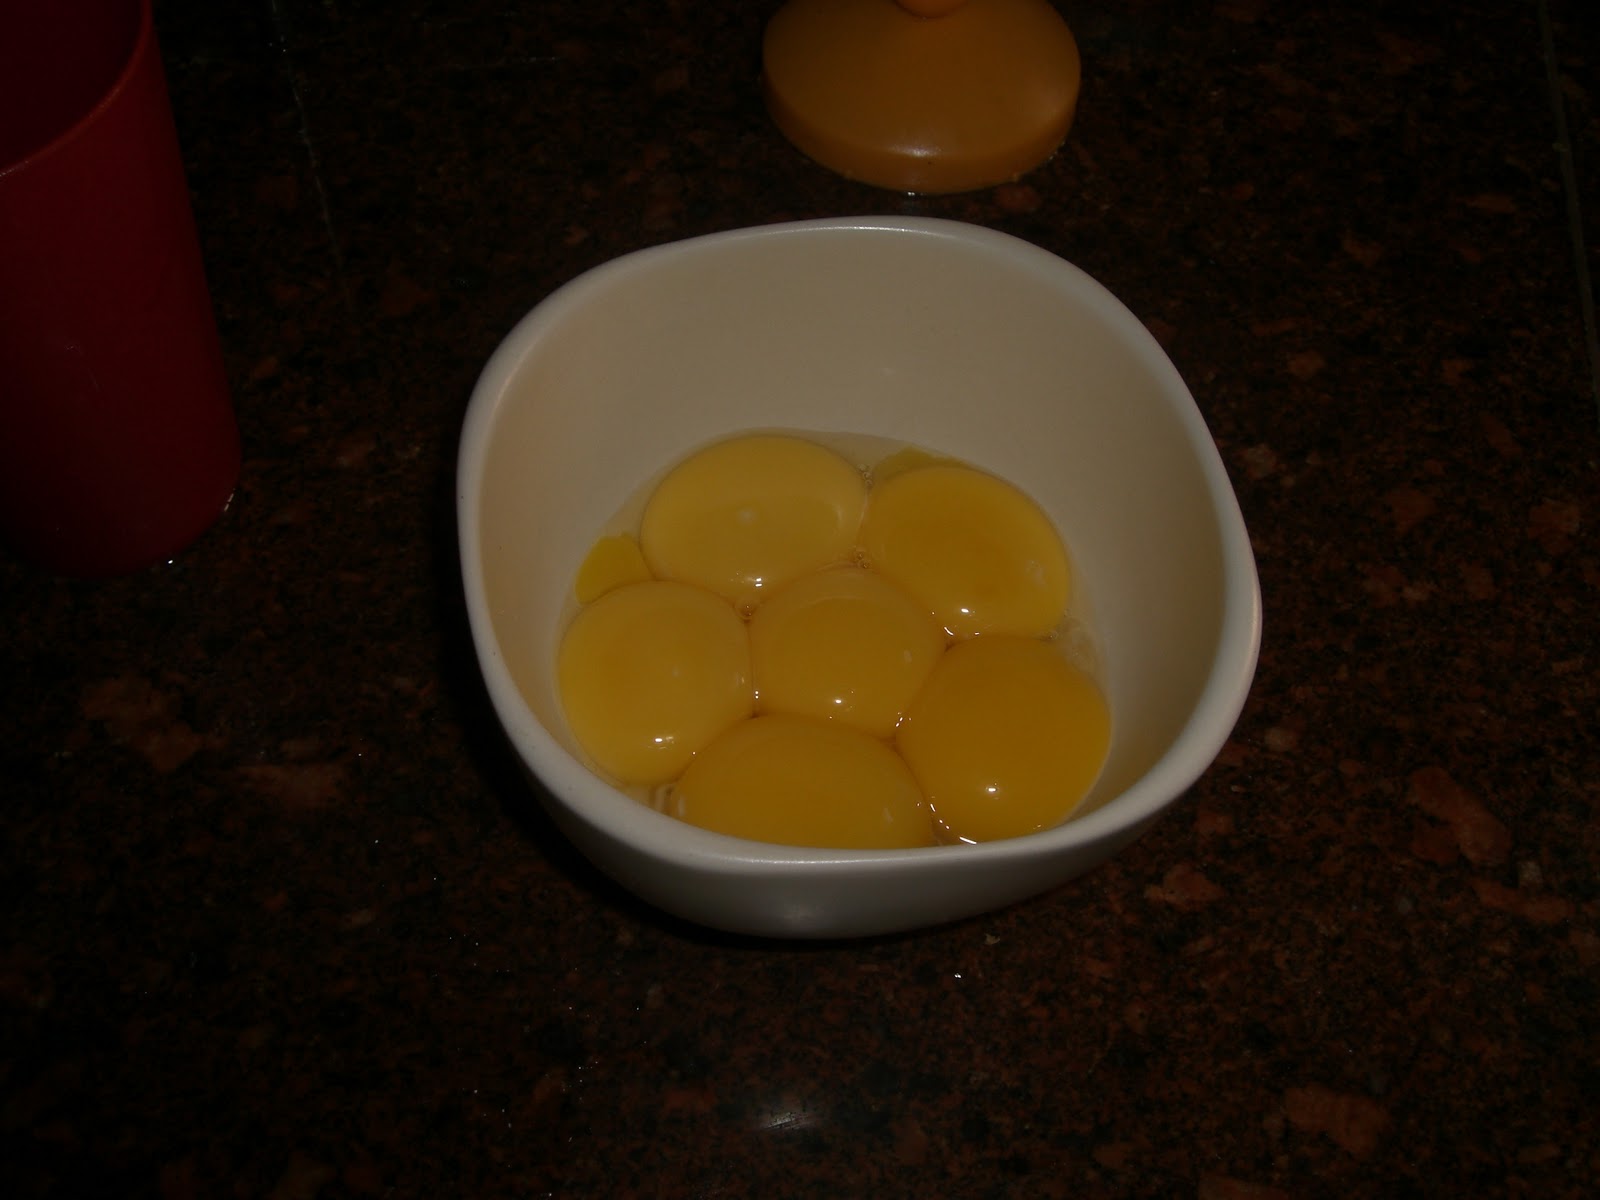
So, you have your egg yolks from the Pavlova.


Mix in the sugar, slowly, you don't want to beat it. Those are good yolks, they don't deserve it.
Separately heat up the cream and vanilla in a saucepan just to the boiling point. Remove from heat and slowly whisk it bit by bit into the egg and sugar mixture. Then pour the mixture back into the saucepan.


Gently heat the mixture and keep stirring. You don't want it to get too hot or you'll end up with with sweet vanilla scrambled eggs. You also need to keep stirring. If you have a Robostir you'll be good. The creme should be just steaming, but not boiling. You'll keep this up while the custard thickens. It's ready when you can dip a wooden spoon in it, hold it up and run your finger through the custard and the line remains.


Then it's done. Now is the part where we cheat. Unless you're a great natural cook and your custard comes out creamy smooth you'll probably have a few lumps. So, into the food processor. Give it a good blitz, this will also aerate it a bit adding a bit more body and make it smooth and creamy.


It'll still be warm, so you should put it in a bowl and into the fridge to cool down. Well, that's the hard part. A dollop or two of whipped cream on top of the Pavlova and sprinkle with fresh berries or kiwi slices and serve. Cut into slices like you would a cake, the inside should be soft and fluffy, dress with a  few spoons of the Creme Anglaise. Enjoy with close friends and family.